Uncategorized
Learn To Download WordPress Manually And Launch Your Dream Website
If you are trying to create a blog website or a new journal, you cannot do it without WordPress. WordPress is a content management system that can be used as a hosting service for releasing and distributing content. With WordPress, you can present SEO-friendly articles with attractive pictures and featured images so that you not only attract the reader but also try and make your mark on the first page of Google searches. So, you might be wondering how you can effectively install this priceless tool on your computer and start working on it. You don’t need to stress out though.
Firstly, before you start, you should check if you have the following:
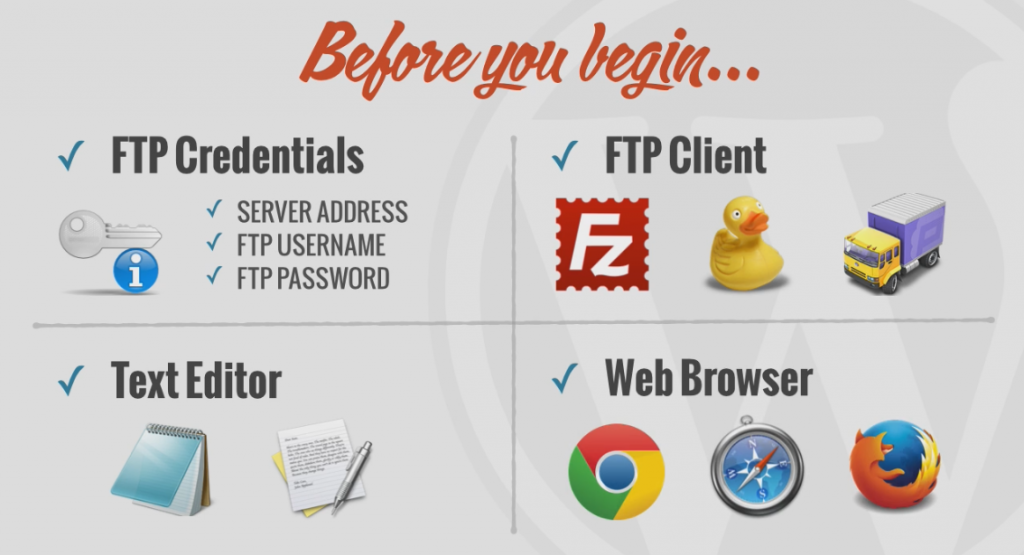
- You should have a Fast Transfer Protocol or FTP access on your web server.
- You will require an FTP client. It can be a desktop app that allows easy file transfer from your computer to a web server.FileZilla is a free FTP client that you can use.
- Since you will be dealing with text, it is obvious that you will require a text editor. Notepad is a great easy-to-use text editor.
- Finally, have a properly functioning web browser that supports CSS3 and HTML5 standards. Safari and Google Chrome are favored for this purpose.
Now, let’s look at the steps you need to follow to get WordPress onto your computer:
- Download the most recent version of the software. You can get it from the link: WordPress.org.
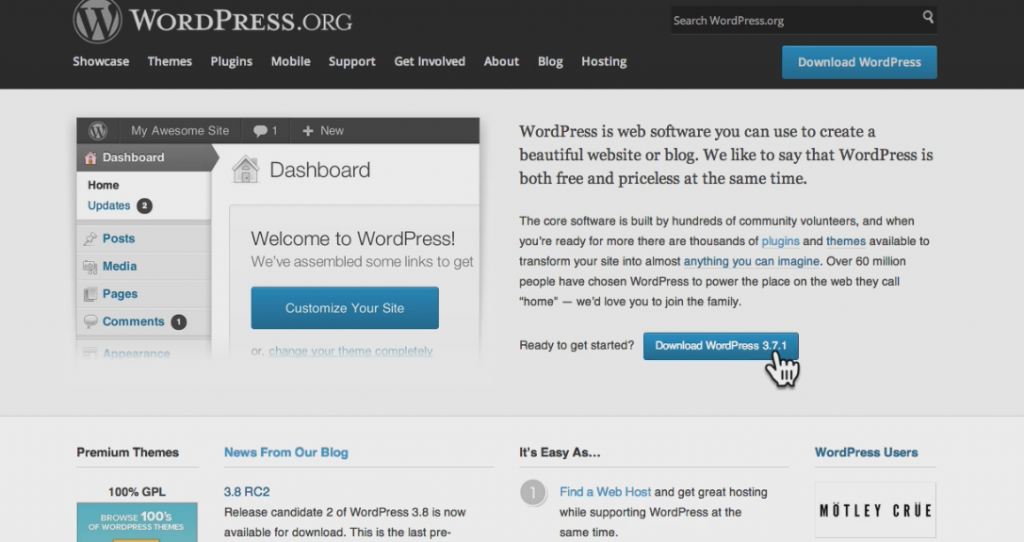
- Once the archive is downloaded, open it and unload it on your computer.
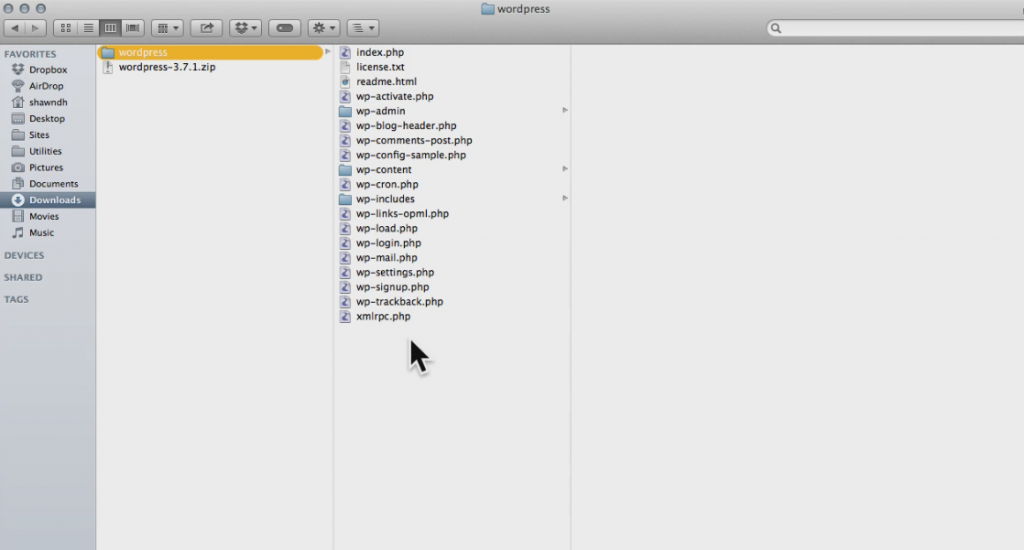
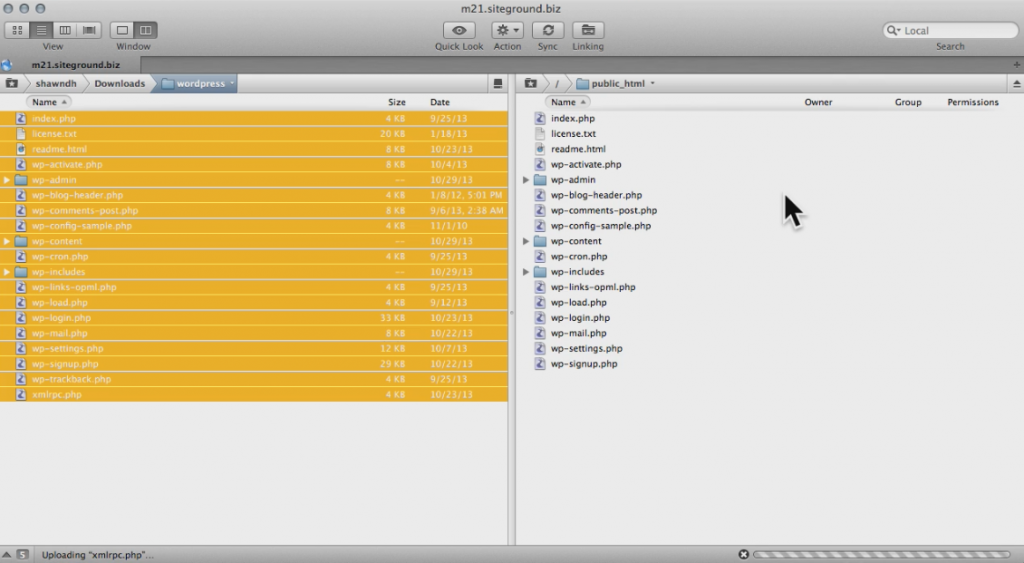
- You can then upload this file to the web server using the FTP client of your choice.
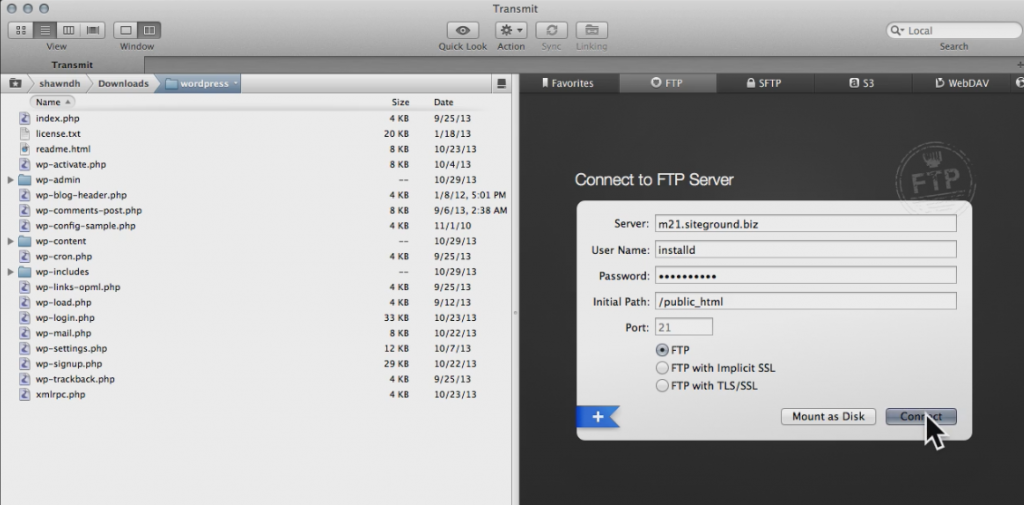
- Locate the WordPress files you downloaded in your FTP client. You can enter your ID and password and connect to your web server.
- Upload the files and then switch to the web hosting control panel. You can use cPanel to manage your account.
- There is a Database module which helps you to build MySQL databases. This is because WordPress doesn’t store any file content. The database stores it.

- To create a Database, press ‘Create Database’. You have to create a MySQL user account with the ability to access and then modify your database. Save your credentials.


- Now, you have to connect your new database with WordPress.
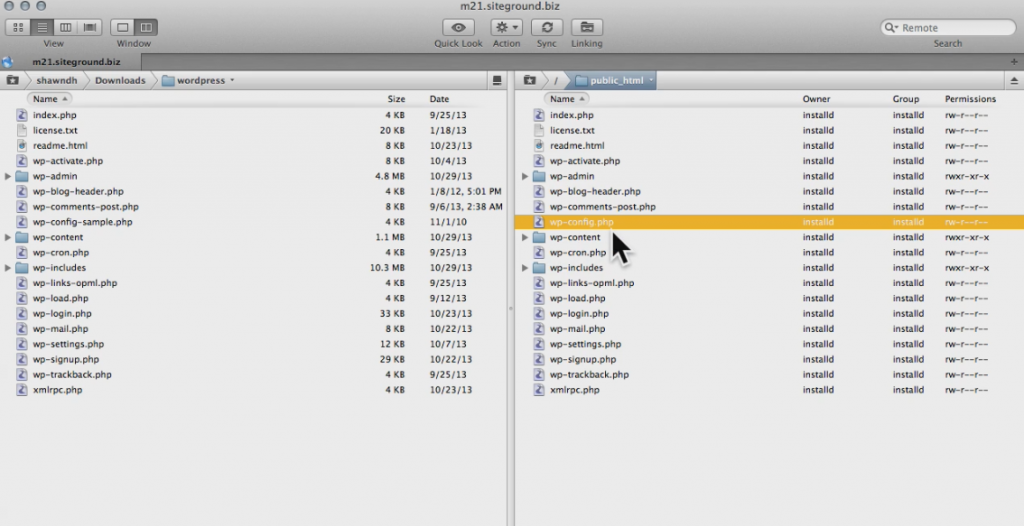
- To connect your new Database with WordPress, you have to switch to FTP client. WordPress will search for the database and it does so by searching for the name ‘wp-config’. So, name the sample file ‘wp-config.php’.
- Use the text-editor to fill the database details.

- Since WordPress is such an important part of your website, you should secure it further by a proper authentication key. Use WordPress secret key generator for this extra security. Paste it in the WP Config file with the help of your text editor.

- Save the file.
- Now run WordPress installation.
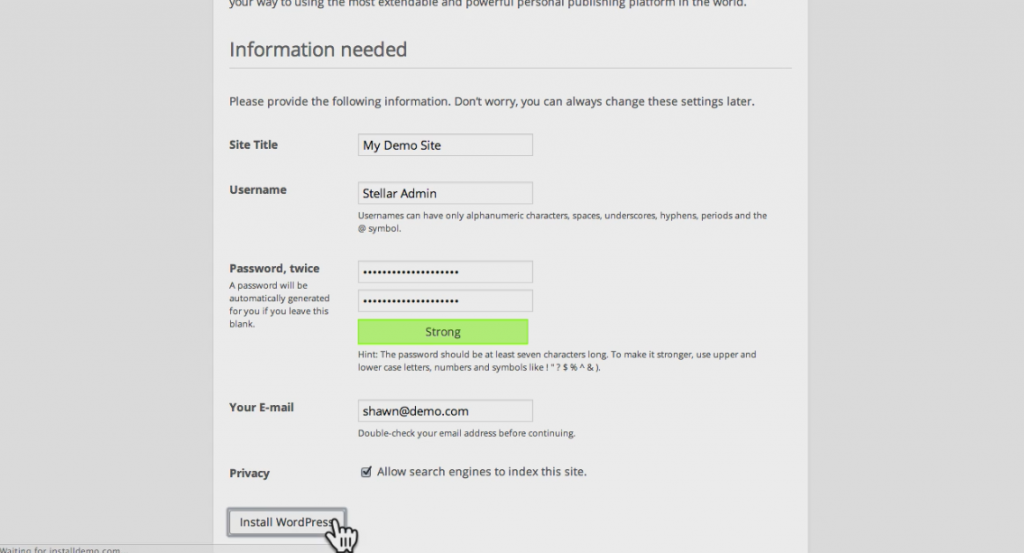
- Enter the web address and WordPress will tell you to enter a few details like Site Title, Administration Username, and Password. You have to input an email address too. Remember these details as it will help you log in to the WordPress Administration Area.
Now, if you want to use WordPress, just type in your website URL and at the end, type ‘/wp-admin’ and you are good to go.